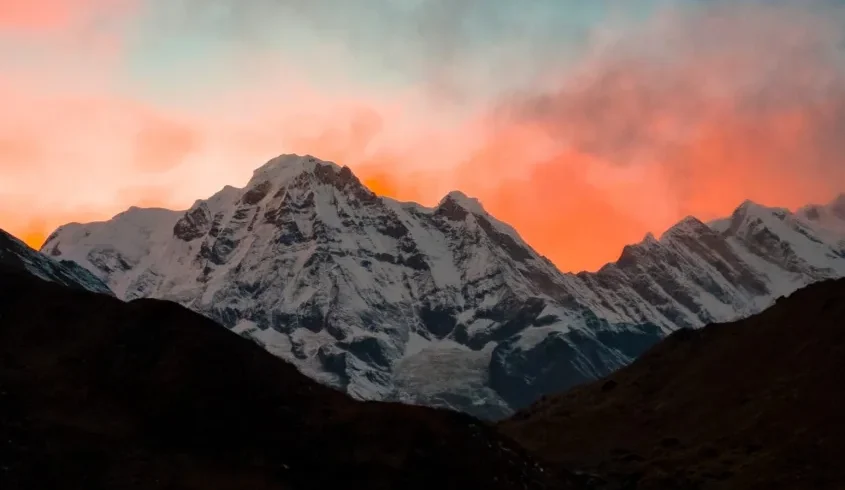


The Mount Kilimanjaro climb via the Lemosho Route is one of the most scenic and rewarding high-altitude journeys in the world. Rising dramatically from the African plains, Kilimanjaro offers a rare opportunity to summit a near-6000 m peak without technical climbing, yet with significant physical and mental demands.
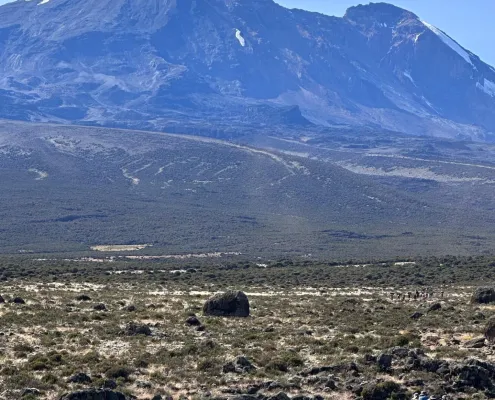
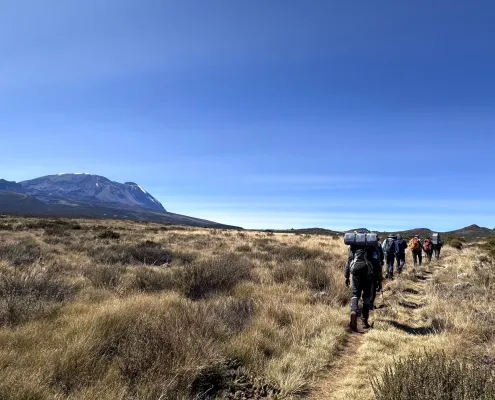
The Lemosho Route approaches the mountain from the west, passing through dense rainforests, vast moorlands, alpine deserts, and finally the icy summit slopes. This gradual ascent provides excellent acclimatization while exposing trekkers to constantly changing ecosystems. The real challenge begins above 4,500 m, where altitude, cold, and fatigue intensify.
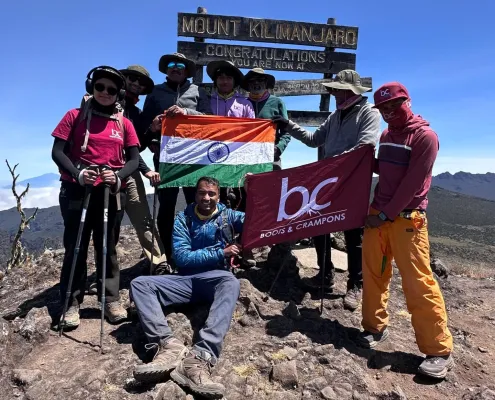
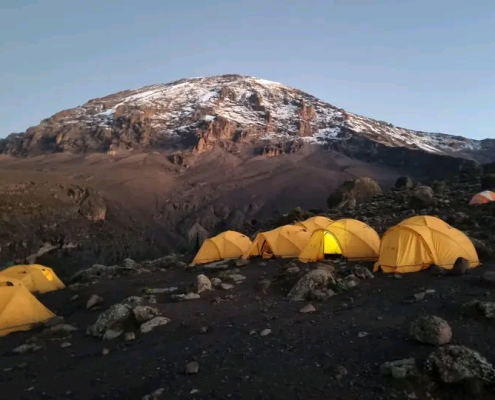
Summit day is long and relentless — a midnight start, steep switchbacks to Stella Point, followed by the final traverse to Uhuru Peak (5,895 m). Thin air, freezing temperatures, and exhaustion combine to create a true endurance test. Reaching the summit at sunrise is an unforgettable moment of achievement.
Kilimanjaro is ideal for trekkers seeking their first international high-altitude summit, provided they prepare seriously and respect the mountain.
Note: Prices mentioned are applicable for Indian passport holders. For foreign passport holders, the cost may vary. Please connect with the Boots & Crampons team for clarity.
Note: An indemnity document will be shared before the expedition. Signing it is mandatory.
Check out the route, time, and distance recorded on Strava during our last climb to Kilimanjaro via the Lemosho route:
Kilimanjaro Expedition December ’24 – Strava Activity
Upon arriving at Kilimanjaro International Airport (JRO), you will be warmly welcomed by our expedition representative and transferred to your comfortable hotel in Moshi. The hotel offers cozy rooms, hot water, friendly staff, a swimming pool, and reliable internet access to ensure a relaxing start to your adventure. Spend the day unwinding and acclimating after your flight. In the evening, participate in a comprehensive briefing with our expedition managers, who will go over the expedition details, safety protocols, and conduct a thorough gear check to prepare you for the climb ahead.
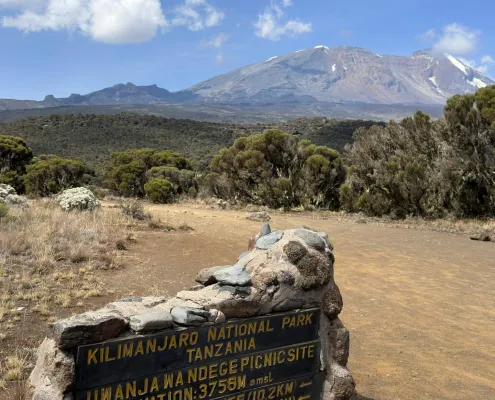
Your expedition begins with a scenic three-hour drive from Moshi to Lemosho Gate. Upon arrival, you will spend approximately two hours completing registration formalities and enjoying a hearty lunch. Following this, embark on a trek through the lush, pristine forest towards your first encampment, Mti Mkubwa Forest Camp. This moderate altitude gain is perfect for starting the acclimatization process, setting a solid foundation for the days to come.
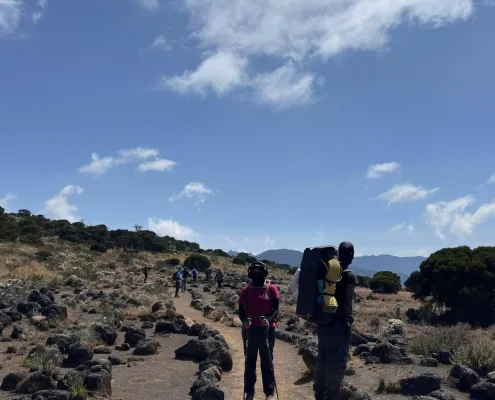
After a restful night at Mti Mkubwa Forest Camp, your journey continues as you trek across diverse landscapes of tall grasses, heather, and volcanic rocks adorned with lichen. The path includes crossing several refreshing streams and ascending Shira Ridge, where you will be treated to stunning views of Kibo across the expansive plateau. Arrive at Shira Camp 1, marking your first night at a significant altitude. Remember to stay well-hydrated and follow your guides’ instructions to minimize the effects of altitude sickness.
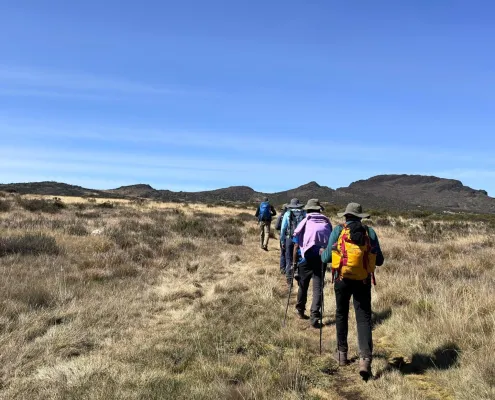
Today, you will explore the vast Shira Plateau, trekking eastward towards the glaciated peak of Kibo. The journey from Shira Camp 1 takes you through moorland meadows to the secluded Shira Camp 2. This area is one of the highest plateaus on Earth and offers numerous walking paths ideal for acclimatization. The day involves moderate ascents and descents, crucial for preparing your body for higher elevations.
From the Shira Plateau, your route progresses eastward, navigating a ridge towards Kibo with a southeast detour to the iconic Lava Tower, also known as the “Shark’s Tooth.” Reaching Lava Tower, you will enjoy a scenic lunch break before descending to Barranco Camp. Today, you’ll experience significant ascents and descents, making it essential for further acclimatization in preparation for the upcoming summit bid.
After breakfast, begin your climb up the steep Barranco Wall, eventually descending into the Karanga Valley to reach Karanga Camp. Today’s trek involves numerous ascents and descents, carefully paced by our expert guides. Enjoy a warm lunch at Karanga Camp before embarking on an acclimatization hike toward Barafu Camp, gaining approximately 300 meters in altitude. This five-kilometer hike, lasting about four to five hours, is designed to enhance your acclimatization without reaching Barafu Camp today, ensuring you are well-prepared for the final ascent.
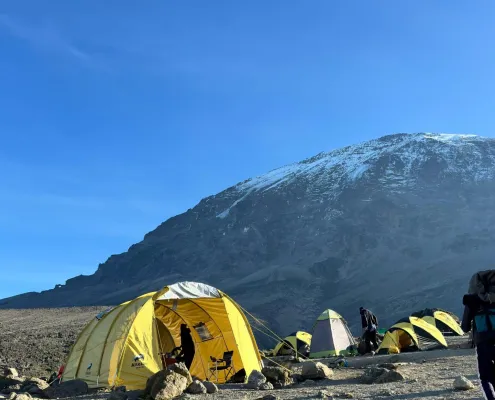
Departing Karanga Camp, you will follow the Mweka Trail as you ascend to Barafu Camp. The hike offers panoramic views of the surrounding peaks, including the summit of Mount Kilimanjaro. Upon arrival, our team will set up camp, allowing you to rest and relax in anticipation of the next day’s summit attempt. Take this time to reflect on your journey and prepare mentally for the final push to Uhuru Peak.
The summit attempt begins in the early hours from Barafu Camp. You will navigate between glaciers to reach Stella Point on the crater rim, followed by the final ascent to Uhuru Peak, Mount Kilimanjaro’s highest point. The climb, while technically straightforward, is challenging due to the high altitude. Each pair of climbers will be accompanied by a personal guide to ensure safety and provide support. After celebrating your achievement at the summit, descend to Barafu Camp for a brief rest before continuing your descent to Mweka Hut. Exercise caution during the descent, as most accidents occur at this stage.
Today, you will trek from Mweka Hut down to Mweka Park Gate, a distance of about ten kilometers over four hours. Upon arrival, you will receive your summit certificates, marking the completion of your remarkable ascent of Mount Kilimanjaro. Transport will then take you back to Mweka Village, where you can relax and celebrate your achievements with fellow trekkers, sharing memories of the incredible journey you’ve undertaken.
After enjoying breakfast at your hotel in Moshi, you will be transferred to Kilimanjaro International Airport for your flight home. This final day offers a moment to reflect on the extraordinary experiences and memories created during your expedition to Africa’s highest peak. Hotel check-out is at 11:00 AM, with the option to extend your stay in Moshi for an additional fee if you have an evening flight.
Accommodation in comfortable hotels in Moshi or Arusha on a twin-sharing basis before and after the expedition, as per itinerary.
Accommodation during the trekking phase will be in high-quality expedition tents on a twin-sharing basis.
Camping infrastructure during the expedition includes:
Personal sleeping tents
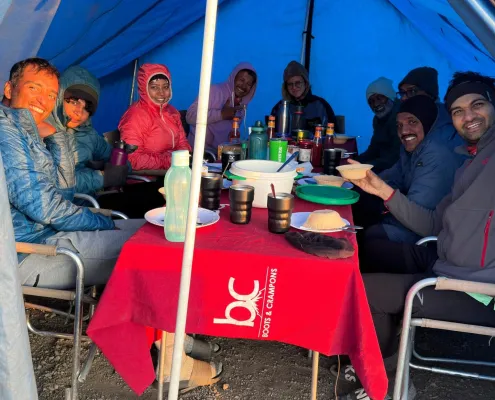
Dining tent for meals and briefings
Kitchen tent for meal preparation
Portable toilet tents where applicable
All campsites are designated camps on the mountain as per the official park regulations.
All meals during the trekking expedition are included, starting from dinner before the trek begins until breakfast after the descent.
Nutritious and energy-rich meals prepared by the expedition kitchen team, including:
Breakfast
Packed or hot lunch during trekking
Evening tea with snacks
Soup before dinner
Dinner
Meals are designed specifically for high-altitude trekking requirements, ensuring proper calorie intake and hydration.
Filtered or treated drinking water will be provided during the trekking days.
All ground transportation in Tanzania related to the expedition, including:
Airport pick-up and drop-off (Kilimanjaro International Airport)
Transfers between airport, hotel, and trek start/end points
All expedition-related vehicle transfers as per itinerary
Experienced and certified Boots & Crampons expedition leader and mountain guides.
Professional support team including:
Local licensed Kilimanjaro guides
Assistant guides
Expedition cook and kitchen staff
Porters for carrying camping equipment, food supplies, and group gear
All porters and staff operate under ethical porter welfare guidelines.
High-quality expedition camping infrastructure including:
Twin-sharing expedition tents
Sleeping mats / foam mattresses
Dining tent
Kitchen tent
Portable toilet tent where applicable
Cooking equipment and kitchen supplies
All mandatory government and park fees including:
Kilimanjaro National Park entry fees
Camping fees
Rescue fees
Conservation and environmental fees
Crew permits and park regulations compliance
Comprehensive safety systems including:
First aid medical kit carried by expedition leader
Emergency oxygen cylinder
Daily health monitoring by guides
Pulse oximeter checks at high altitude
Emergency evacuation coordination if required
Complete expedition coordination and logistics management by Boots & Crampons
Pre-expedition briefing and preparation guidance
Kilimanjaro summit certificate issued by park authorities
Trek completion certificate from Boots & Crampons
International airfare to and from Kilimanjaro International Airport is not included.
Participants are responsible for booking their own flights and travel arrangements to reach Tanzania.
Tanzania visa fees and related travel documentation costs are not included.
Participants are responsible for obtaining the required visa and ensuring all travel documents are valid before departure.
Personal trekking equipment and clothing are not included, including but not limited to:
Personal trekking boots
Down jacket and cold-weather clothing layers
Gloves, hats, and personal accessories
Personal trekking poles
Personal headlamp and batteries
Personal duffel bag and daypack
A detailed recommended gear list will be shared before the expedition.
Standard porter services are included only for expedition equipment and the permitted personal load.
Additional porter services for extra luggage beyond the allowed limit may be arranged at an additional cost.
Expenses of a personal nature are not included, including:
Bottled water, soft drinks, and alcoholic beverages
Snacks and personal food purchases outside the expedition meals
Phone calls, internet usage, laundry, and personal purchases
Souvenirs and shopping
Mandatory personal travel insurance covering the following is not included:
High-altitude trekking
Emergency evacuation and rescue
Medical treatment and hospitalization
Any costs related to emergency evacuation, rescue operations, or additional medical treatment are the responsibility of the participant.
Single occupancy accommodation in Moshi (before or after the climb) is available at an additional cost.
Additional hotel nights outside the expedition itinerary are not included.
Additional expenses arising due to circumstances beyond expedition control are not included, such as:
Flight delays or cancellations
Weather disruptions
Changes in park regulations or fees
Political or environmental conditions
Early exit from the expedition due to personal or medical reasons
Tips and gratuities for guides, assistant guides, porters, and expedition staff are not included.
Tipping is customary on **Mount Kilimanjaro expeditions and recommended tipping guidelines will be shared during the expedition briefing.
Any service, activity, or expense not explicitly mentioned in the “Inclusions” section will be considered excluded.
Please read carefully before registering
At Boots & Crampons, preparation is not optional. The level of training required depends on the duration, altitude, and technical difficulty of the trek or expedition you are signing up for.
Proper preparation increases not just your chances of success, but also your safety and enjoyment in the mountains.


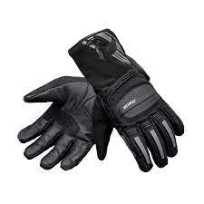

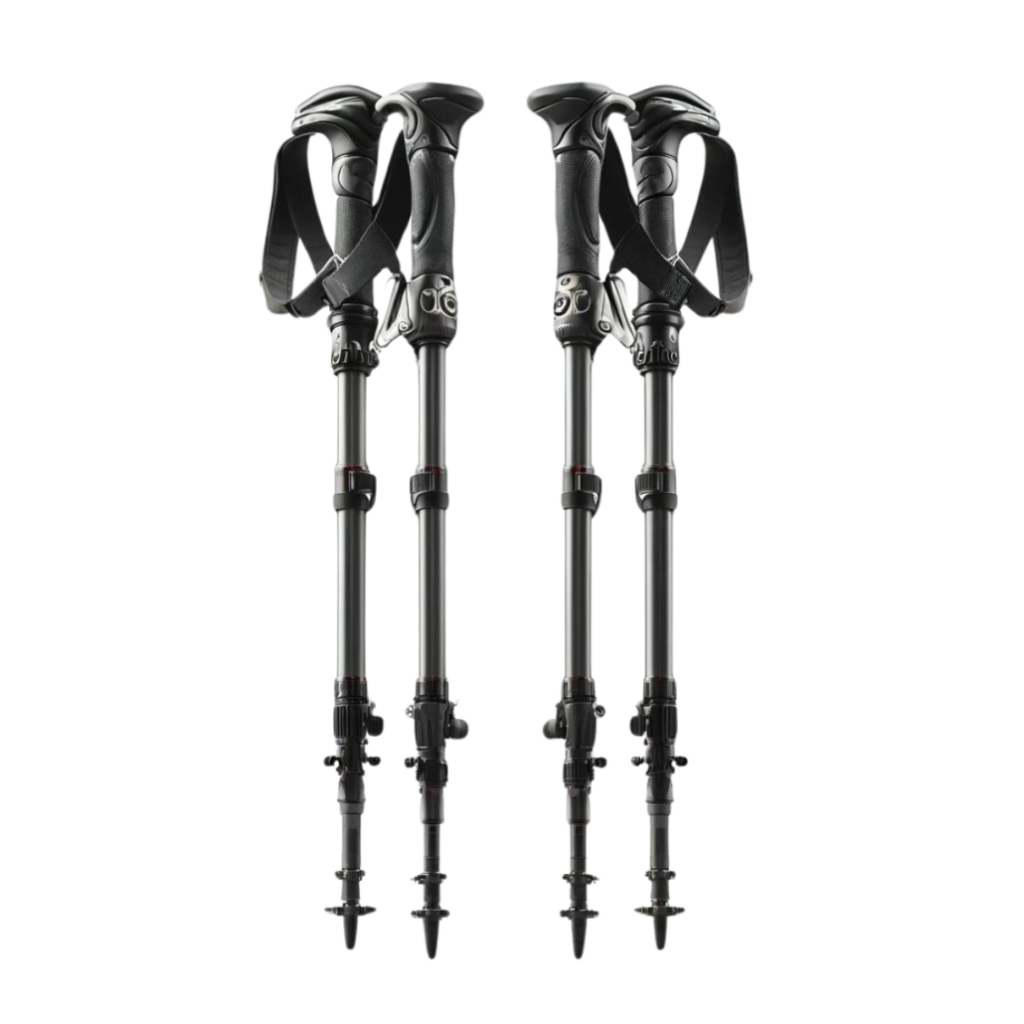


*Rental Gears Required*
Visit our Contracted Business Partner website – Summit Yak
for details on trek-specific rental gears and rates.
The Lemosho Route begins in lush rainforest, then passes through moorlands, alpine desert, and high-altitude rocky slopes before reaching the final summit zone. The terrain becomes progressively steeper and more exposed as you gain altitude.
The summit of Mt. Kilimanjaro — Uhuru Peak — is 5,895 m (19,341 ft) above sea level.
The Lemosho Route is considered moderately difficult. It does not require technical climbing skills, but you do need good physical fitness, endurance, and the ability to trek for long hours at high altitude. The route’s gradual ascent profile and acclimatization strategy help increase your chances of reaching the summit.
The standard trekking distance is around 70 km (approx. 43 miles). The climb is typically done in 7–8 days on the mountain for best acclimatization, though shorter or longer variants exist. A longer itinerary improves your summit success rate.
The ideal climbing windows are the dry seasons:
You should be physically fit enough to walk long days (typically 5–8+ hours) on uneven and steep terrain at altitude. Cardiovascular endurance, hiking stamina, and training on hills with a backpack are essential.
➡️ See the Preparation Guide for detailed fitness expectations and training recommendations.
Water is available along the route from natural and camp sources but should always be treated or purified before drinking to avoid illness.
Kilimanjaro’s summit is high enough that altitude sickness is possible even for fit trekkers. The Lemosho Route’s gradual ascent and built-in acclimatization is designed to minimize discomfort, but hydration, pacing, and attention to symptoms are vital.
Water is obtained from glacial streams and snow melt. The expedition team treats water, but climbers should carry personal purification tablets or filer water bottles as backup
Climbing Mt. Kilimanjaro via the Lemosho Route is one of the most scenic and successful ways to reach the Roof of Africa. With the right preparation, pacing, and acclimatization, climbers from a variety of backgrounds can achieve this incredible milestone.
Boots & Crampons staff of highly trained professional guides is here to make your journey as safe and secure as possible. All of our trekking guides are medically certified and have abundant experience using their training in mountainous environments.
Our safety standards are based on the experiences of our founder, managing risk in some of the world’s most hostile environments.
While we advise our trekkers to carry light, our guides are always prepared with:
Be it queries about the trek, customization or anything else, our team is eager to assist you.
Need your questions answered right away?
Get in touch with us at
Discover similar treks from Boots & Crampons that quench your thirst for adventure.
Discover similar treks from Boots & Crampons that quench your thirst for adventure.